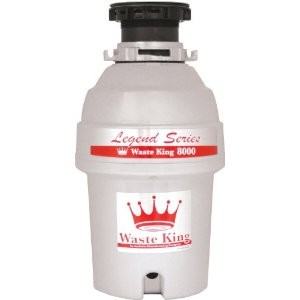
 Garbage Disposal Device is very important for all households around the world because it helps lessen the hassle of keeping bad smell in our kitchen off. It makes our lives easier and hassle-free.
But have you ever tried installing a garbage disposal device by yourself? If you did, you must have found it a bit challenging especially if it’s your first time. If you haven’t, then you’re just on the right page.
Below are steps you can follow on how to install a garbage disposal unit. Take your time to understand them and see if you’re ready to go!
Step 1
If you have a two-bowl sink, then you must remove the drain lines that connect the two bowls. Also, remove the strainer from the bowl to which you’ll be attaching the disposer.
The strainer body also must be removed, which forms the rim to which the drain line was attached. Once complete, you’ll be left with a simple hole in the bottom of the sink bowl.
Step 2
In-between your hands, you must roll a plumber putty to form a snake, then run it around the base of the disposer flange included with the unit. The Flange must be placed in the drain hole, seating it firmly.
Step 3
The gasket and upper- and lower- mounting on the flange must be installed. Then, snap the retaining ring in place. Tighten the three screws on the lower-mounting ring until the flange is firmly seated. Most of the plumber’s putty will have squeezed from around the top of the flange at this point. Trim the putty and clean the sink.
Step 4
Attach the disposer unit to the flange according to the manufacturer’s directions. (Some are attached using a mounting ring. Others are attached with bolts.)
Step 5
Using the included washer or gasket, attach the discharge tube to the discharge opening in the side of the unit. If a dishwasher is to be attached to the unit, knock out the plug inside the dishwasher nipple with a screwdriver. Clamp the dishwasher discharge tube in place on the nipple.
Step 6
Install the drain lines. If you have a two-bowl sink, both bowls can be routed through a single P-trap by running the discharge tube from the disposer to a T in the drain line above the trap.
You also need to connect it to the electric source for it to function.
The switch necessary to operate the unit is a simple single-pole switch. The white wires are tied together with an appropriate wirenut, as are the bare ground wires
The black wires are each attached to a terminal on the switch—the incoming wire is attached to the bottom terminal, and the wire which travels to the disposer unit, is attached to the top terminal.
For safety however, you might want to have an electrician help you on installing these electrical wiring.
So you see, installing a garbage disposal device is not really that hard. If you just carefully follow the steps, you’ll have it fully running in no time.
Now let me ask you, are you ready to do it yourself?
